Showing posts with label DIY. Show all posts

Wednesday, September 11, 2013

my favorite DIY tools

Everybody knows that having the right tool for the job makes the job easier.

Here's a run down of the tools that have made our DIYing much easier, and are versatile enough to make our favorite DIY Must Haves:


Top Four DIY Must Have Tools

Wednesday, August 28, 2013

hinged countertop

Ever wish you had more counter space in your kitchen? I do, everyday!  Well, we came up with a way to have additional surface space (just when we want it) with this hinged countertop.

This is such a simple and easy way to add surface space.


Thursday, August 15, 2013

reference books for DIY

Ever wonder how some people seem to know to DIY everything? Well, maybe they don't. . .or didn't.

Before we bought our current house our DIY experience was limited to cosmetic fixes, additions to our previous new construction home, and experience working alongside our dads.

Reference Books for DIY

Wednesday, July 31, 2013

diy printer shelf

Sometimes things just need to be functional, like this shelf we built for our printer. We don't have a dedicated office space, just a corner in our cozy kitchen. In fact, we bought a different computer, a monitor/computer combination, because of our lack of space.

DIY Printer Shelf built in closet

Wednesday, June 12, 2013

yard work

This year we've finally made some big changes to the front landscaping. When we built our front steps, posted here, we took out four bushes flanking the front door. But we still had five overgrown/outdated shrubs remaining.

With just a morning, a chain, and the tow hitch on our trusty mini-van, they were out. Admittedly, it may have been faster if we hired someone else to do it, or at least rented a bobcat. But the persistent and sweat equity saved a bunch of money.

Thursday, June 6, 2013

all the fun things you find

We recently finished stripping the wallpaper in our living room and our dining room (you can read about it here and here). Although its a lot of work, it is always fun to peel back the layers and find the little and the larger pieces of our home's history.

For example, I often come across notes:

Wednesday, May 29, 2013

{how to} strip wallpaper

After moving into a house with a living room, a dining room, a kitchen, two bathrooms, and three bedrooms covered in wallpaper, I've learned a thing or two about getting it down.

I tried the gel. I tried the vinegar & water solution. The steamer is the easiest and lest smelliest method.

Wednesday, May 22, 2013

{essential} wallpaper stripping tools

After moving into a house with a living room, a dining room, a kitchen, two bathrooms, and three bedrooms covered in wallpaper, I've learned a thing or two about getting it down.

The first step to stripping wallpaper is having the right tools.


Wednesday, October 10, 2012

{the last} step

We put our wood floor down last summer (posted here), and then basically took the summer off from indoor projects. So some time passed before we got around to getting the step in that separates the kitchen and family room. It was one of these projects that doesn't take long once you do it, we just had to stop doing other projects to get around to it.


Tuesday, July 17, 2012

installing a ceiling fan light kit

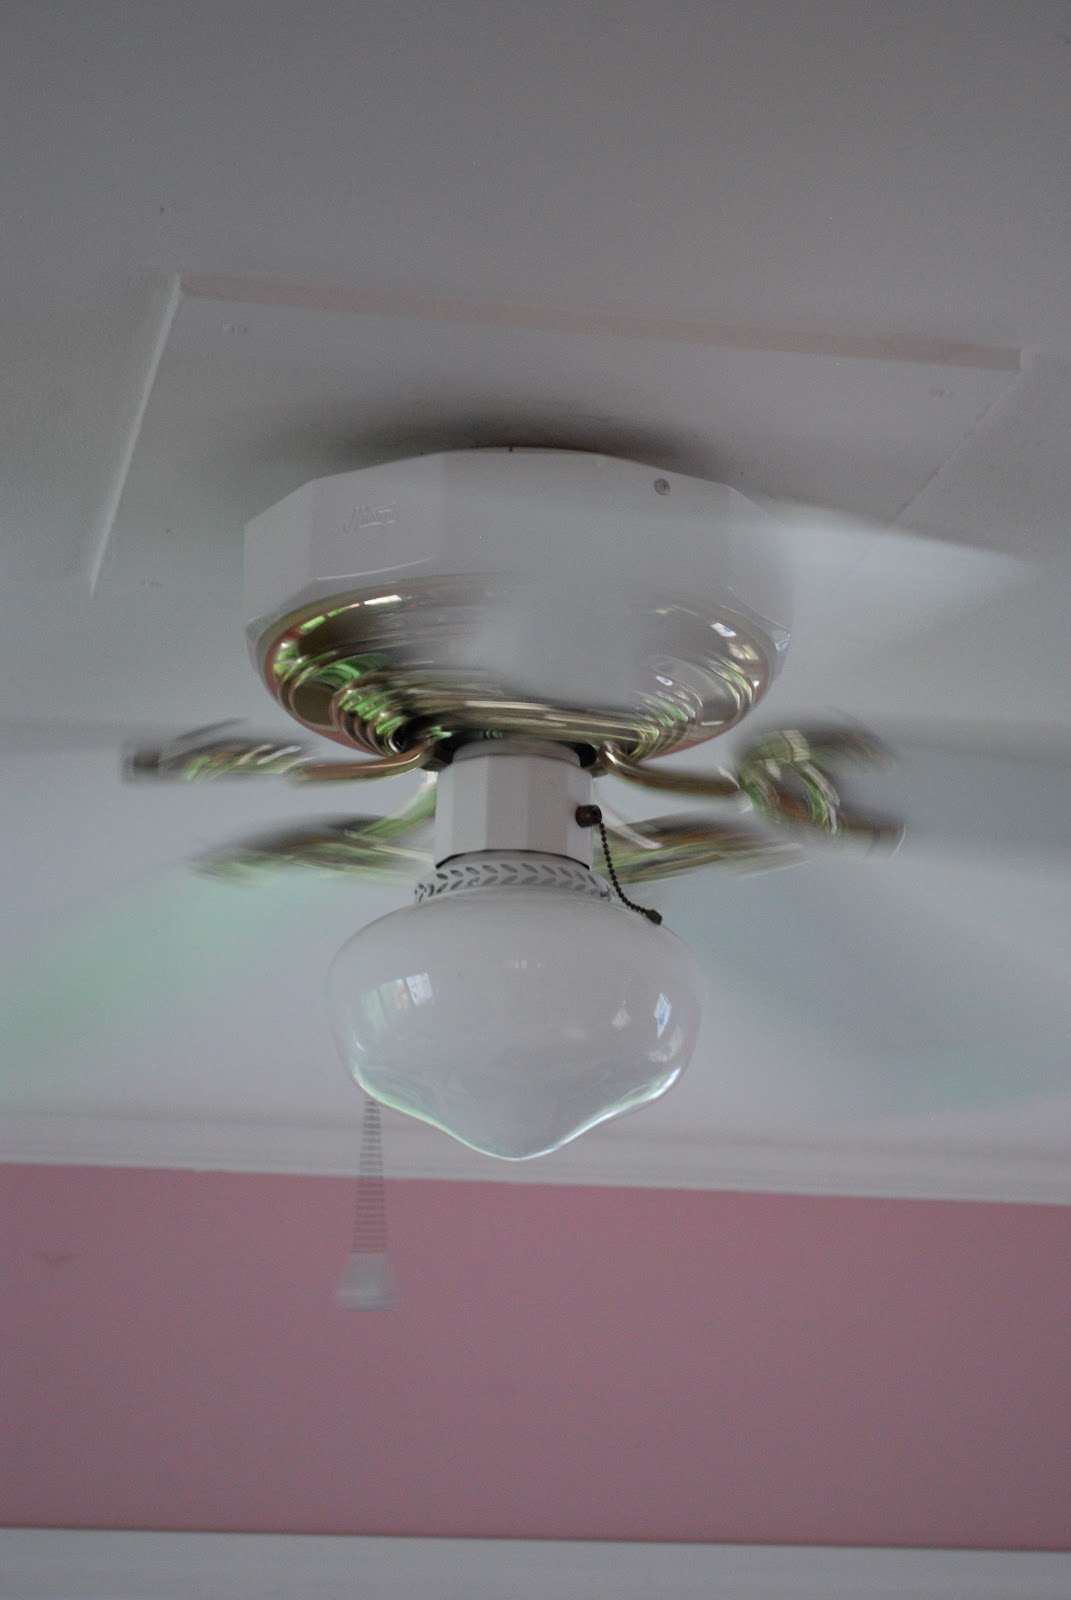
Like many of the rooms in our house, our sun room did not have any overhead lighting. It does have a ceiling fan.

Our sun room gets lots of use in the summer and I didn't want to be so dependent on our floor and table lamps all season long. In a rare moment of productivity one day, I picked up a ceiling fan light kit from Lowes.

I also picked up ceiling medallion to make it extra fancy.

Over the weekend, Handyman got to work wiring the light kit into the fan. Pretty simple stuff.


He started by removing the cap and wired the new light to the existing wiring.  He just followed the included set of instructions.
(Don't be jealous of my fancy brassy fixture, I have plans for that.)


Ta da, lights works, fan works.

Now, onto the ceiling medallion.


I was always curious to know why the fan was mounted to this square wooden board. Now I know why . . .

There was a small detail I didn't account for when deciding which size medallion to purchase. Turns out, the mounting board really was a big as the ceiling hole. I expected the hole in the drywall only to be a slightly bigger - just big enough to accommodate the fan- not overly big and boxy.

My puny little medallion was suddenly severely underscale, and not nearly large enough to cover the hole. Hmm. . .

You can see it here.
We've since looked into purchasing a completely different ceiling fan for this room, since this project turned out to be a DIY dud. And neither one of is happy with the result -Handyman doesn't care for the light fixture I selected, and I don't like the fan, and neither one of us likes the under scaled medallion.

Oh well. A new fan will be in our future.

Wednesday, July 11, 2012

my pinterest inspired family room

My Pinterest inspired family room renovation is finally done! And to think it all started with a few photos. But first, it helps to understand a little bit about my husband and I. Here's an example of a typical improvement conversation:

Me: "Handyman, we should do this (whatever project x is)."
Handyman: "I can't visualize it. Show me a picture."

~Surfing the Internet-moments or days later~

Me: "Here, I found a picture."
Handyman: "I can do that."

I knew I needed a photograph of a bead board ceiling to to sell him on the idea. These photos from BHG did the trick. Thank goodness for Pinterest, where I have a place to save and organize my ideas.


Handyman finished the last of the touch up paint just other day.


And just in case you can't remember what it looked like before, here's a reminder:

I think it turned out pretty good. The addition of the bead board works well with the cottagey-style of our little yellow cape.

We choose use individual tongue and groove wood boards, because installing the beadboard panels would have left us with a giant seam running across the length of the ceiling.

(In full disclosure, I'm sure Handyman wouldn't have been keen on the whole bead board ceiling suggestion, except that we had to do something with it after we took the acoustic tiles down, leaving these large open-faced sandwich cookie like glue spots. You can see them best in the BEGINNING OF BEADBOARD CEILING photograph above.)

Now to just furnish it, decorate it, and style it. No biggie, right?

You can see all the projects we did here.

Sunday: I Heart Naptime, Nifty Thrifty Things, It's Overflowing, MopItUp , Twigg Studios Monday: Made by You, C.R.A.F.T. DIY Showoff, Between Naps on the Porch, Debbie Doo's, Home Stories A to Z, diy home sweet home, DedicatedHouse Tuesday: Coastal Charm, Nest for Less, Tip Junkie, My Uncommon Slice of Suburbia, A Bowl Full of Lemons, Get Your Craft On, ClaimingOurSpace Wednesday: Uncommon, Savvy Southern Style, Organize and Decorate, Power of Paint, Newlyweds Recipe Linky, Southern Lovely , Home Happy Home, Gingersnap Crafts Thursday: The Shabby Creek Cottage, Made in a Day, House of Hepworths, the 36th Avenue, Crafty, Scrappy, Happy, 52 Mantels Friday: Making Lemonade, Blissful and Domestic, One Artsy Mama, Serenity Now, Tatertots and Jello, The Shabby Nest, Thirty Handmade Days, Addicted 2 Decorating, Funky Junk Interiors, Financial Friday, At the Picket Fence, Classy Clutter

Thursday, June 7, 2012

hardwood how-to

The last time I showed you my family room it looked like this, posted here.
And last time, I {sorta} showed you the hardwood that I purchased from Home Depot, posted here.


Handyman got home from work Friday evening, changed his clothes, and started right in on taking the tile out of the room. (This is why I have very little in-progress photographs. He gets right to work, and if I'm not around to snap a few pictures, they didn't exist.)

Using a crowbar and hammer, Handyman removed all of the tile by the front door. He had the children carry it to the Bagster, posted here, in the driveway.

He removed the top layer of the vinyl flooring, leaving the under laying paper layer.

Then, he ground off the residual tile mastic leaving the underlying plywood sub floor smooth. We wanted a nice even, level surface to lay the hardwood.


After laying the black tar paper with a staple gun, it was time to start laying the hardwood. We rented this tool, a hardwood gun stapler and double sided mallet hammer from Home Depot for $75. It just plugs into an air compressor and makes the work a lot easier than doing it by hand.

Handyman and his dad followed the manufacturer's installation instructions.The hardwood we purchased is factory finished and has a tongue and groove. The pieces easily interlocked into each other for a tight fit.


After the floor was in, it was time to install the baseboard. We wanted the baseboard to be flush with the our new door trim. The baseboard we purchased wasn't as wide, so we add width with a simple furring strip. These are easily cut on a table saw.


The baseboard also had to accommodate a few other cuts, such as our shoe cabinet, since we chopped the legs off it no longer accommodate the taller baseboard trim. (The legs come long enough to not to do this, but we wanted our shorter.) If we remove the cabinet, we can easily pop in a new, non-cut piece of baseboard trim.

This is the closest wall color -gray with a little bit of a blue undertone.

We also had to accommodate our two heating vents. We did this by lowering the vent so the vent cover occupied the widest part of the trim. We have access to these vents in the basement, so lowering them a smidgen was easy.


The final floor task was finishing the space between the floor and the doors. This was just standard weather stripping.


The finished product
We still have all the touch up work left, but almost all done . . .

Now my family room floors match the rest of the hardwood floors throughout the rest of the house.

 Even though the room is empty, I think it's better than when we started.


You can read more about our family progress:

TDC Before and After
09 10